


Need a fuss-free distraction on the go? These DIY sensory jars are perfect for taking to the cafe or keeping in the car.
For those of you who don’t know, sensory play refers to any activity that stimulates a child’s senses – touch, taste, smell, sight, and hearing. It involves setting up play experiences that engage children in exploring and discovering the world around them through their senses.
Sensory play can involve materials such as sand, water, rice, playdoh, and other textured items that children can manipulate and interact with. It is an effective way for children to learn and develop new skills and can also be beneficial for kids with sensory processing difficulties.
There are lots of ways to create sensory experiences for kids. A sensory bottle can be used as a calming tool during stressful times, a distraction during transitions, or for mindfulness exercises.
It’s also a great DIY project that can be customized to meet individual needs and preferences.
I will show you how to make a sensory bottle that is super quick (only takes 5 minutes to create!) and engages curious little minds using a combination of rainbow rice, craft materials and trinkets. Here’s what I did.
Let’s get started!
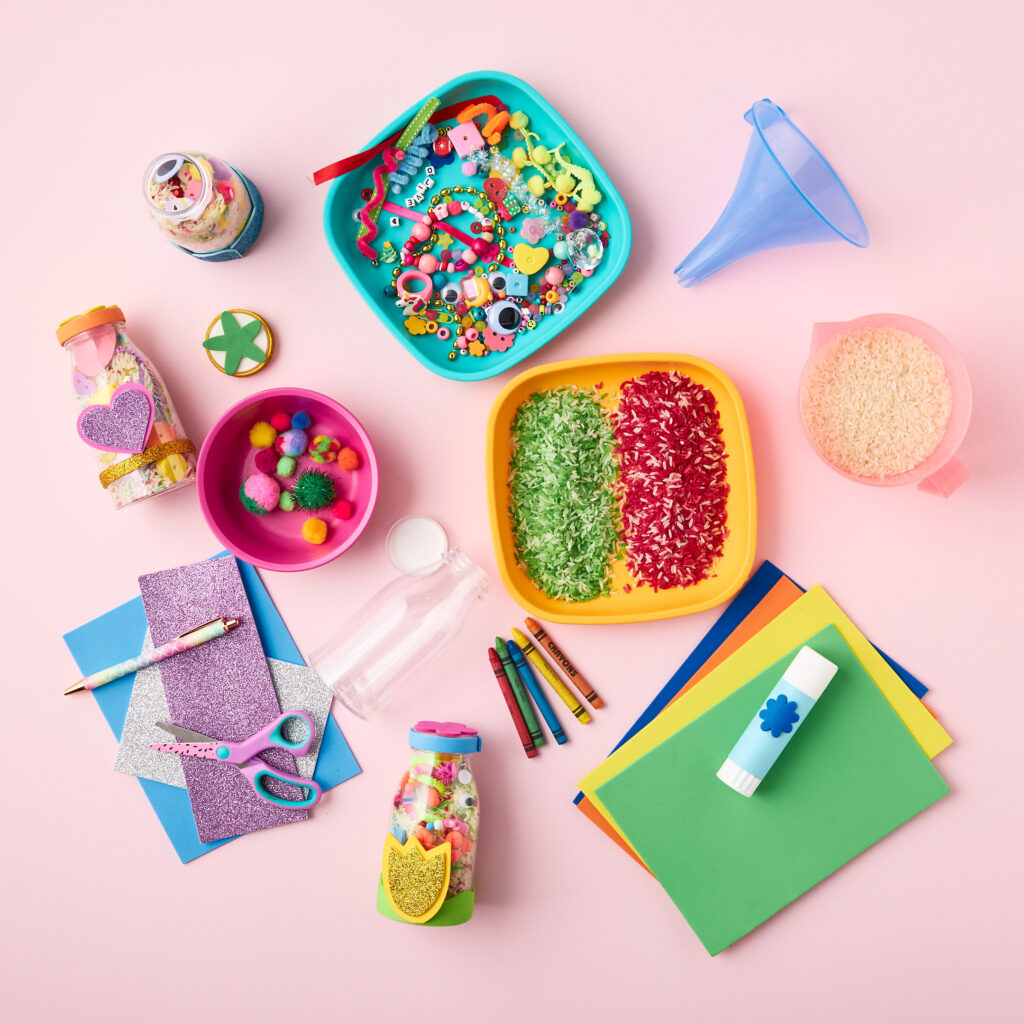
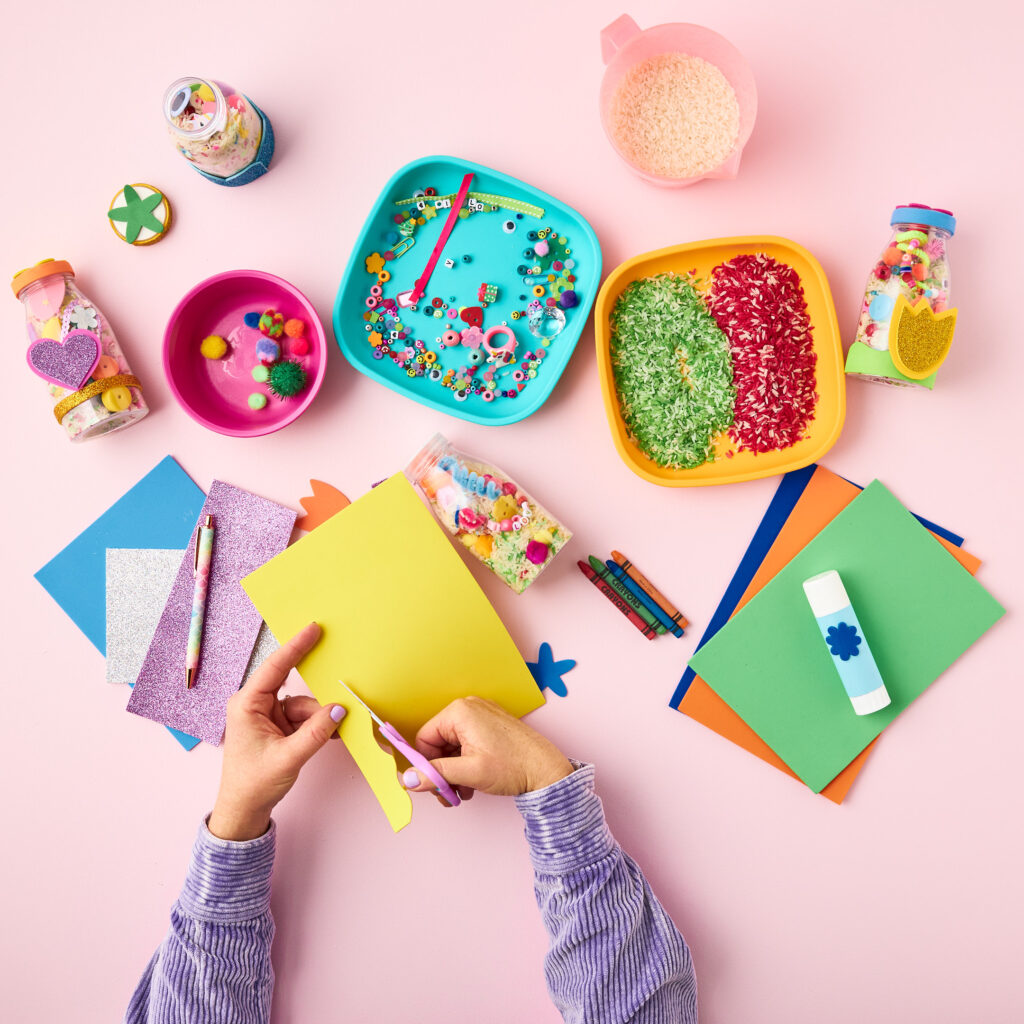
Materials:
🟡 A clear plastic jar or bottle with a lid (I used a plastic bottle from the cheap shop)
🟠 Rainbow rice (you can make this by mixing white rice with food coloring)
🔴 Small craft materials (pom poms, buttons, beads, feathers, sequins, crayons, pipe cleaners)
🟢 Small toys or trinkets (I used gems and seashells)
🔵 Glue gun or strong craft glue
Instructions:
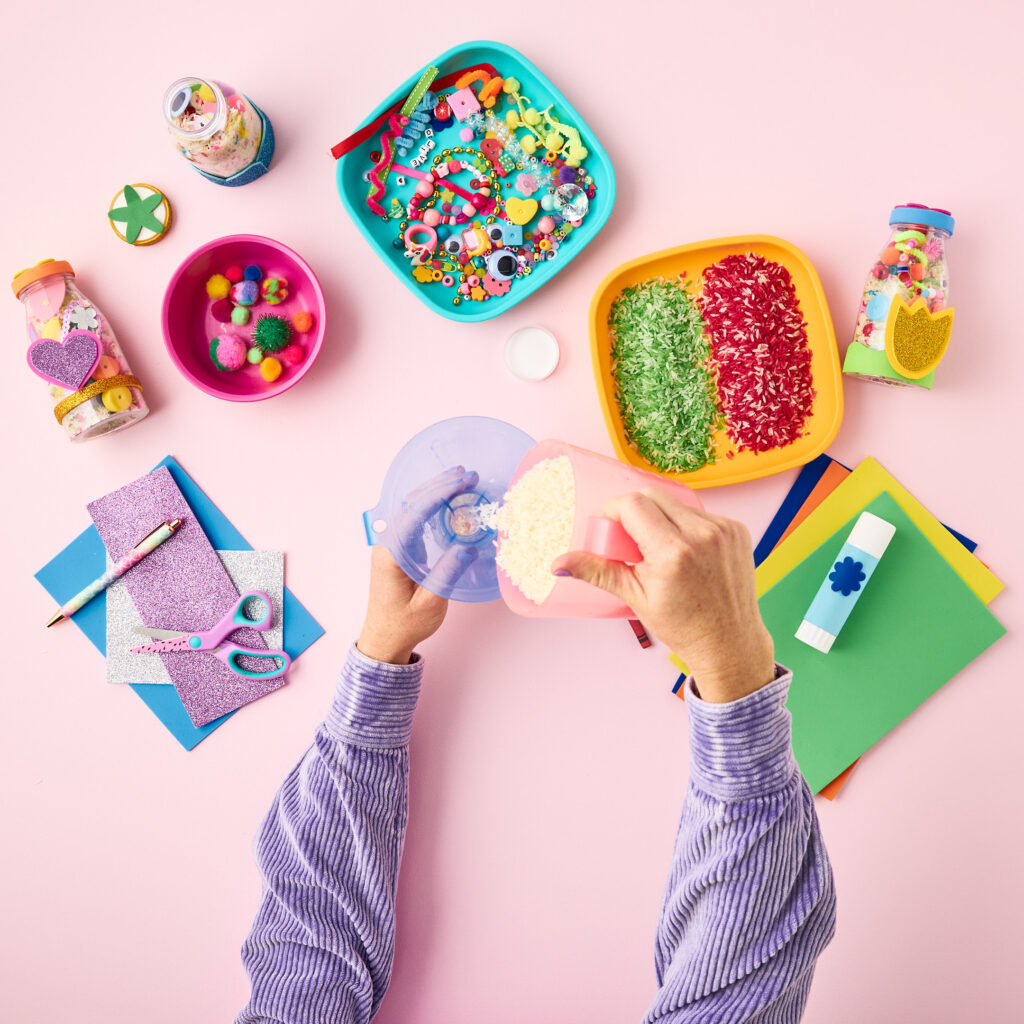
Ready to make a DIY fun sensory bottle?
Begin by filling your bottle with rainbow rice, leaving about an inch of space at the top.
Add in the small craft materials and trinkets, distributing them evenly throughout the jar.
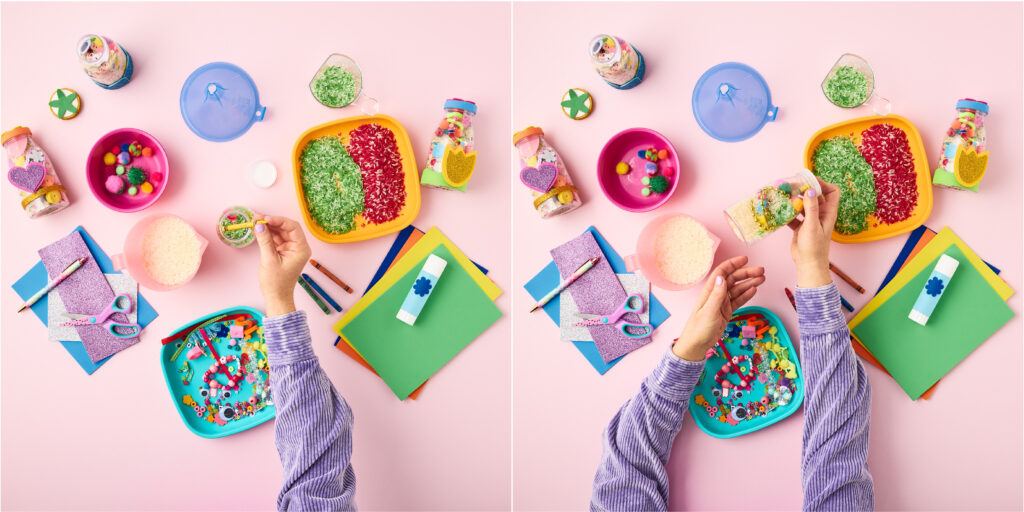
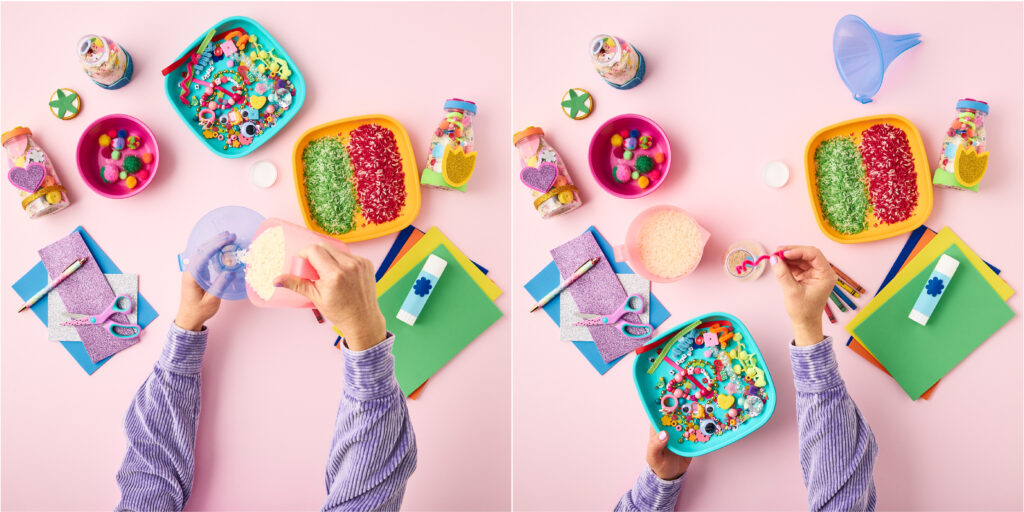
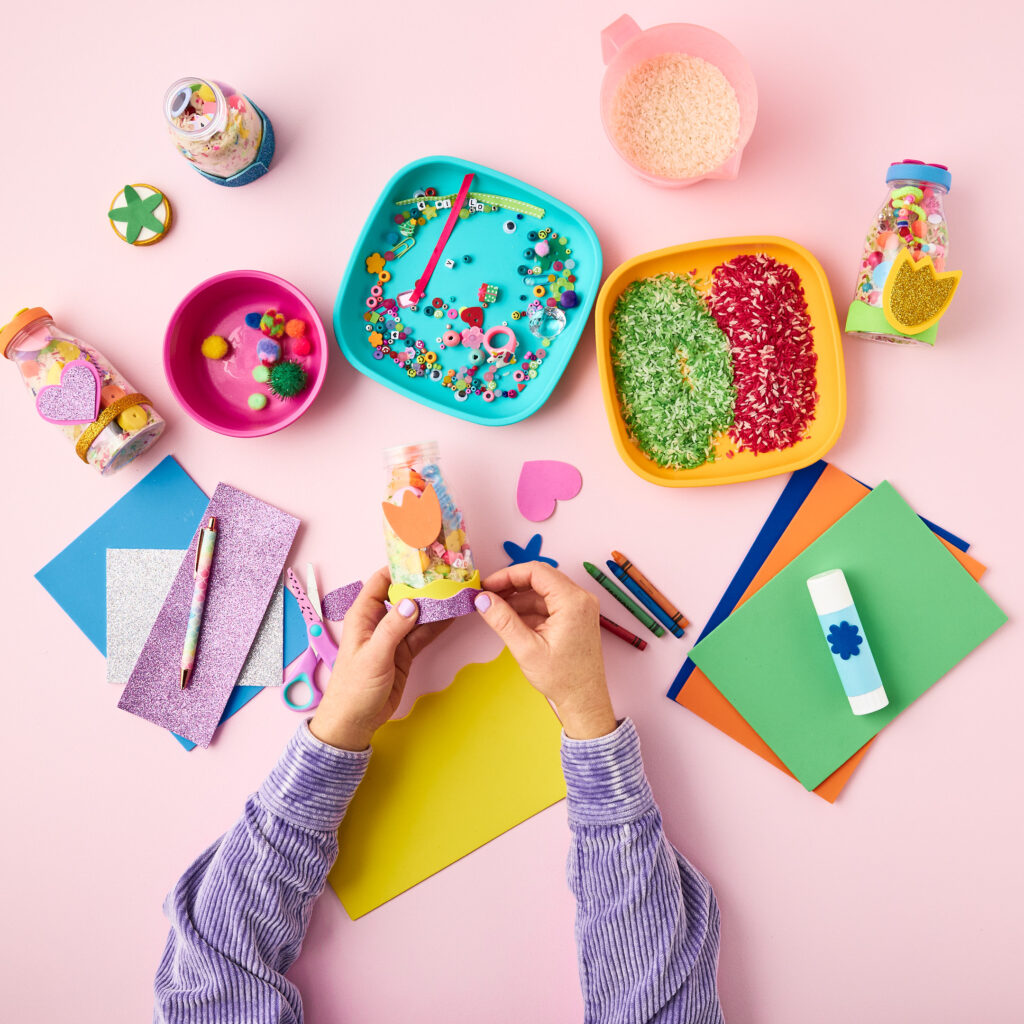
Use the glue gun or craft glue to attach some of the items to the outside of the jar.
Once everything is in place, screw on the lid tightly. keep an eye on your little ones as some parts could cause choking . Put a layer of glue around the inside edge of the lid for extra safety.
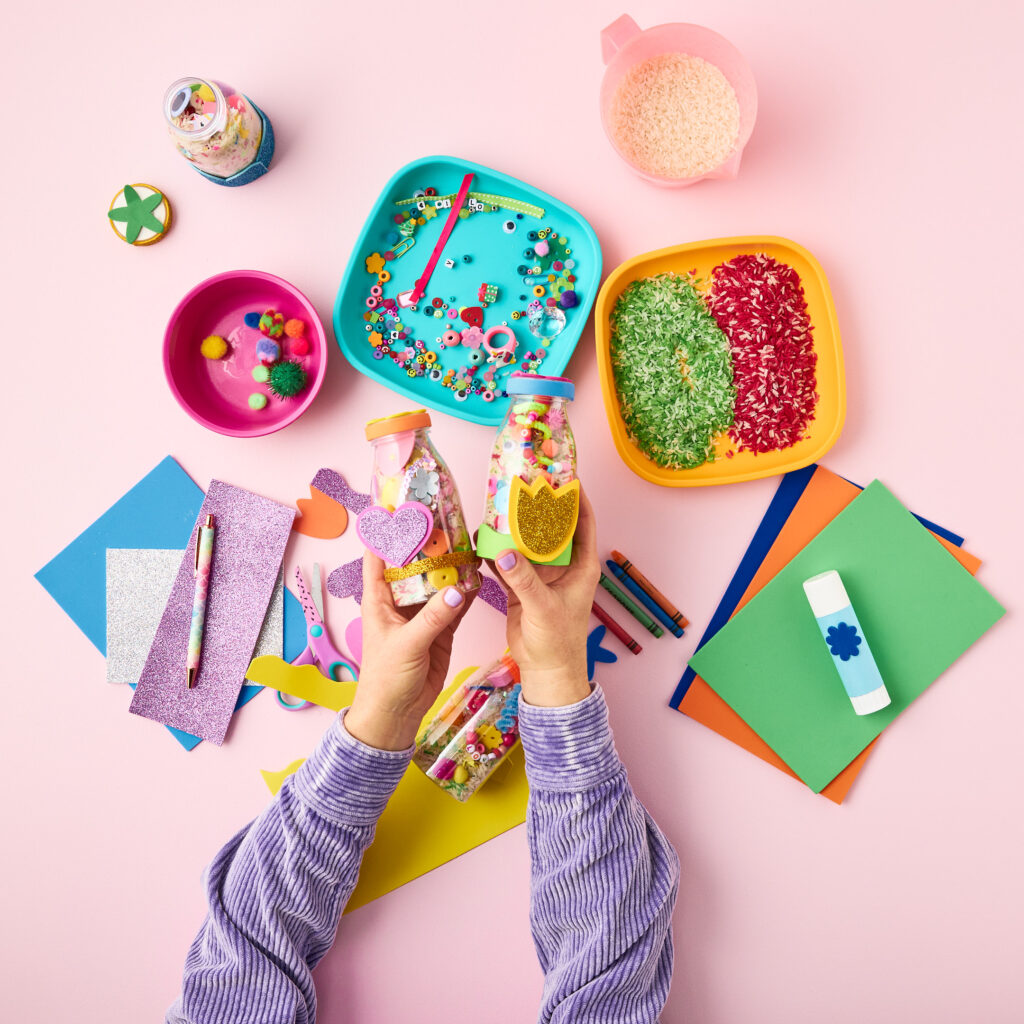
Shake the jar to mix up the contents and watch as the colors and textures combine.
Hand the sensory jar to your little ones and let them explore! Voila!
Want to make your playtime more fun and creative?
Here are some fun tips for you:
Mix it up by using different sized items or adding sparkly glitter or confetti for more visual fun.
Try adding water and glitter glue to your empty bottle for a completely different sensory experience.
Use seperate jars to put group colour contents together. This is a fun way to teach children about colour.
Treasure Hunt Sensory Bottles


